Se vvoi vivri sanu mangia pocu e camina jchianu.
(Calabrian dialect): If you want to be healthy, eat little and walk slowly. Literally, enjoy food in moderation and relax.
Easter Season: Artichokes Grilled Over Coals
Artichokes are low in price this time of year (and fresh!) so here is an easy way to prepare them. This works with large artichokes or small, baby ones, but for me the best size to seek out are small to medium. Look for artichokes that have tight leaves and very little browning on the tips.
Artichokes are notoriously laborious to clean. This preparation does away with virtually any trimming and lets you experience eating this delicious thistle after being roasted over wood coals. If you want, you can use charcoal briquettes. Just make sure they are not impregnated with lighter fluid or any other chemicals you would not want to consume. I did these in the dying embers of my wood fired oven after making some pizza.
Prepping your thistles: lop off about 1/2 inch of the top of each artichoke with a serrated bread knife. Slice the very end of the stem (do NOT cut off the entire stem – it tastes just as good as the artichoke heart). Gently spread the leaves outward to make spaces for the marinade to drip in. Season the tops with salt.
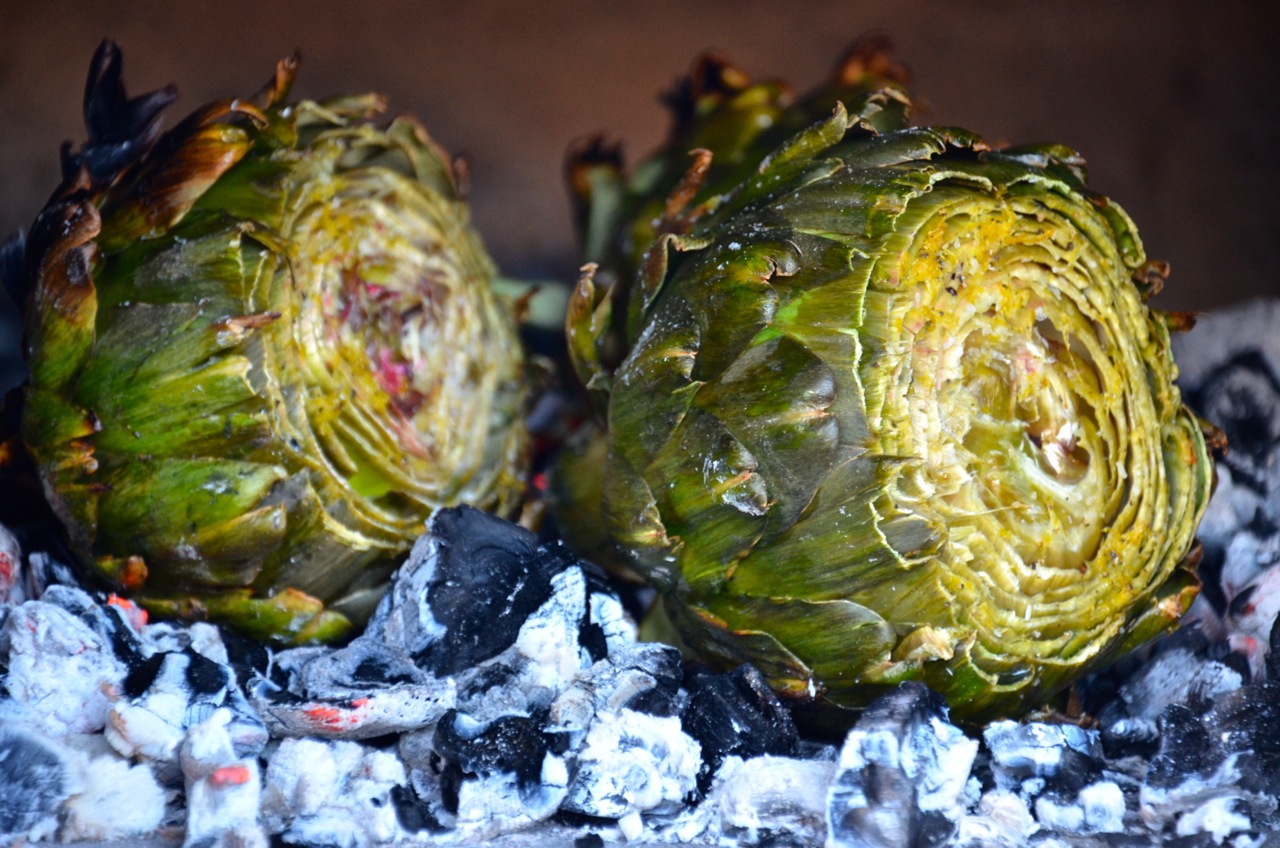
Add about a 1/4 cup of extra virgin olive oil to a bowl for every 4 medium artichokes. Add a splash of limoncello if you have it. Crush and mince a few cloves of garlic and add them to the bowl. Zest a lemon and add to the mixture, then squeeze the juice into the bowl. Season with fresh cracked pepper and salt and whisk until combined. Spoon the marinade over the tops of the artichokes and let the mixture seep between the leaves. Lay the ‘chokes on your bed of coals and turn them every 10 minutes or so. Roast until the outer leaves are blackened and the ‘chokes are tender – about 30 to 40 minutes.
To eat – peel away the leaves and scrape the bottom, meaty ends between your teeth. When you get to the center, pull away the choke (it looks like a flower with a carpet at the bottom), and eat the center of the charred stem and heart.
Easter Season: Casatiello Napoletano
Satsuma Orange Marmalade

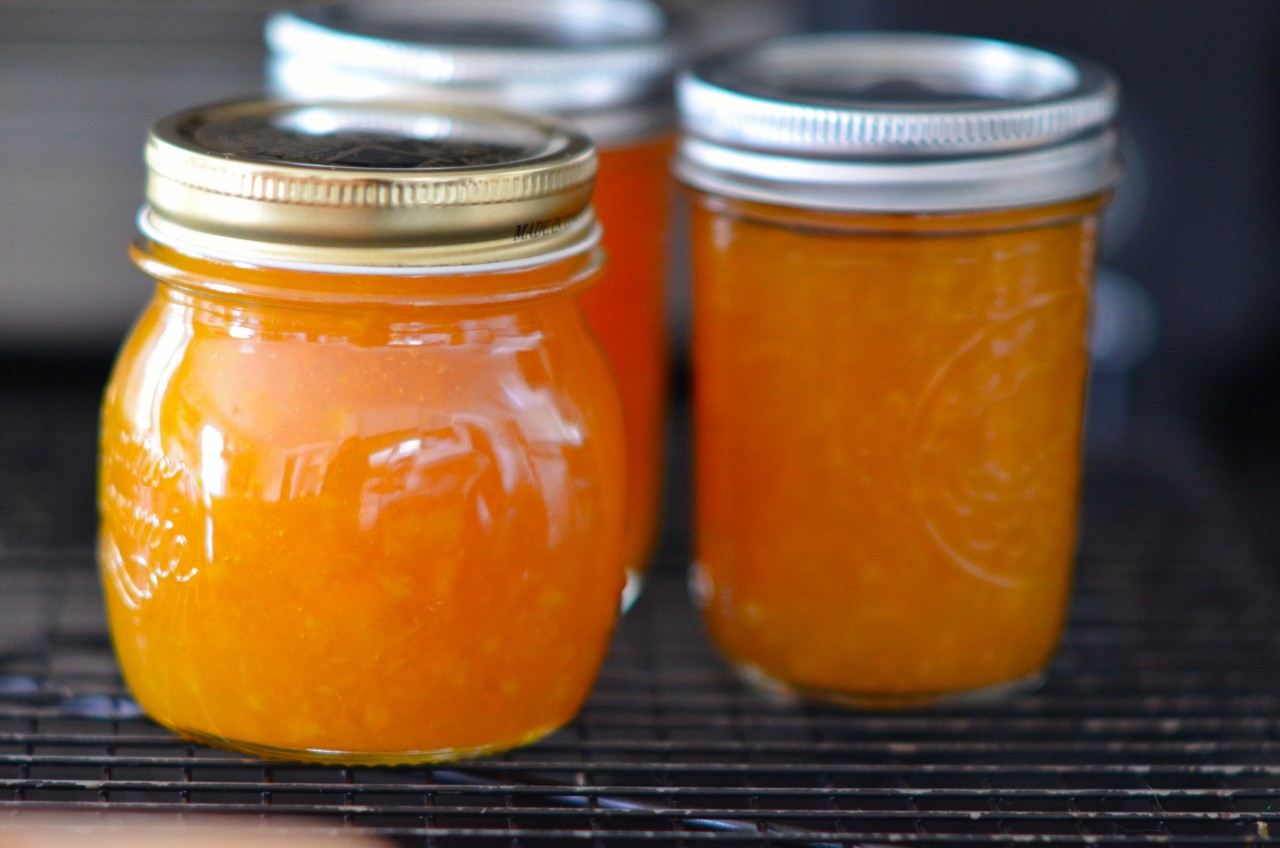
I got the idea for this marmalade from the exquisite book Coming Home to Sicily by Fabrizia Lanza. She passes oranges through a meat grinder instead of the traditional slicing method. And I love the Satsuma orange for marmalade as the peel is not too bitter. For this batch I used 6 cups ground oranges, 6 cups water and 6 cups sugar. Boil the oranges in the water until tender, then transfer to a wide pan and add the sugar. Boil down until it is gelled and then jar. For more info on making marmalade, see this great tutorial.
Easter Season: Pizza Rustica
Mauviel Copper Jam Pan

After using my new Mauviel copper jam pan this winter for all my citrus fruit marmalades and preserves, I can safely say this is one of the best pan purchases I have ever made.
The size, shape and material of the pan make the gelling phase go so much more smoothly. Well worth the price, and something I can hand down to my children. It’s French, not Italian, but I don’t care (just this once).
I got mine at Amazon.
Easter Season: Zeppole di San Giuseppe
Lardo: Cured Pork Fat
Of all the cured meats from Italy, for me, lardo is the most essential, primal, and pristine. It challenges our modern view of food down to one of it’s most fundamental and pervasive cores: fat is bad for you. But eaten as intended, sliced thin and consumed sparingly, this fat is good for you in every life-enhancing way imaginable.
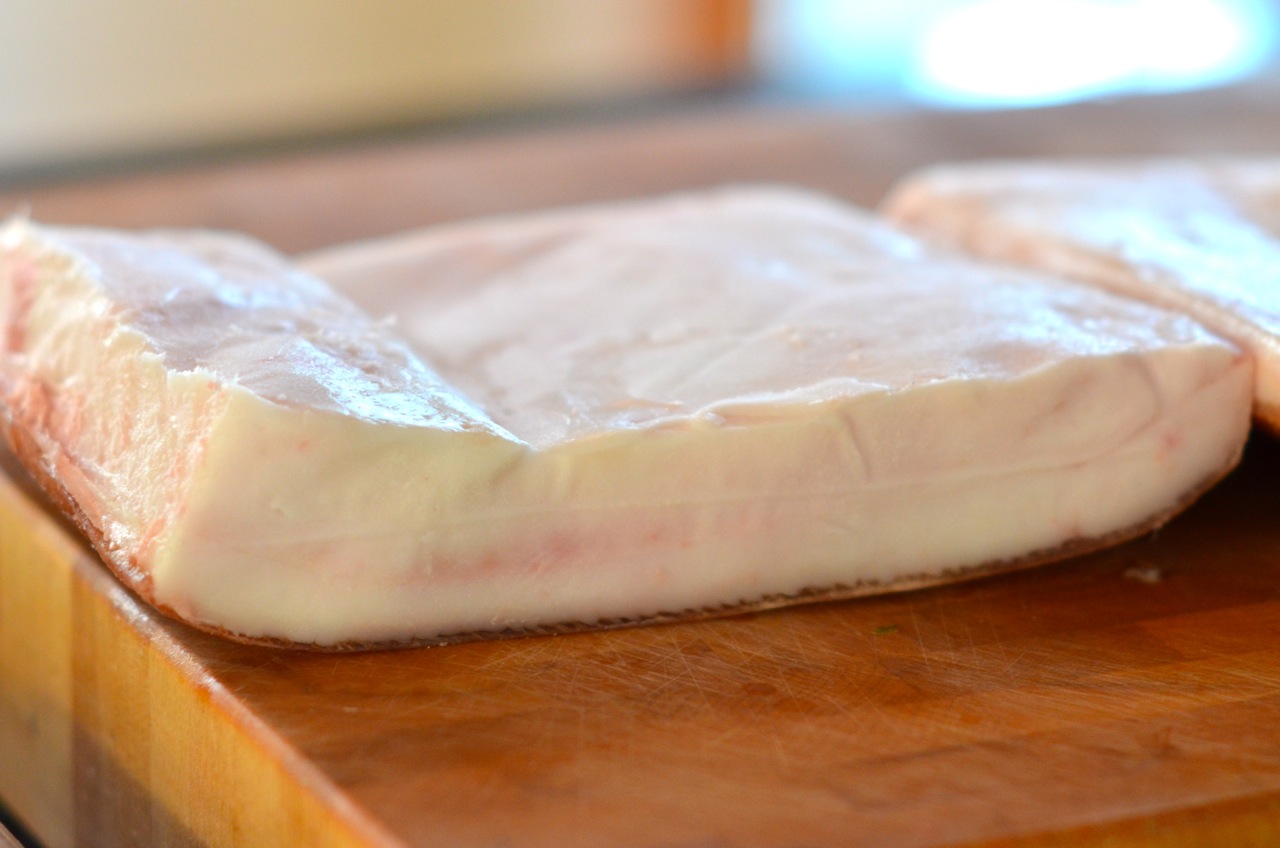
Lardo is a thick slab of pork back fat that has been salted and left to cure in a soupy brine for six months. There is no intermediary meat of consequence. You slice it thin, and let the fat melt on your tongue. You can drape it over bread, let it dissolve over a just baked pizza, or add it to countless dishes in place of oil or butter as you would salt pork. It is the purest expression of the pig in all it’s glorious fat-ness.
It Italy, the best lardo is made in Colonnata, where the ancient marble mines of Carrara provide a natural vessel for curing the fat. Marble blocks are hollowed out to make caskets, where the fat cures along with salt, rosemary, and other aromatics for up to six months. The marble keeps the fat at a consistent temperature. And no refrigeration is used – Italians keep their caskets in cool basements or caves.

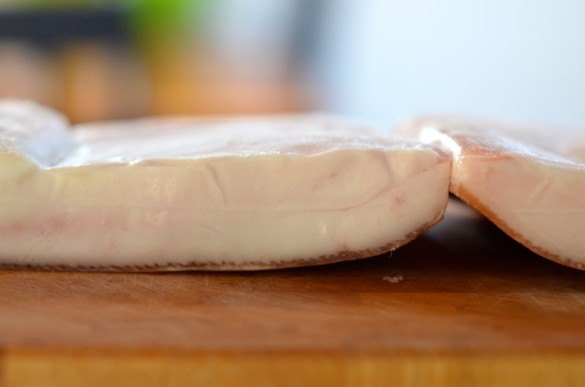
Lardo is a hard item to come by in the US, so making your own is one of the only viable options for obtaining it. But you need an impeccable source for the fat. You cannot just go down to your local supermarket and buy commercial back fat, full of nasty antibiotics and growth hormones. You need thick (at least 1 inch), organic, farm raised, heritage pork to make this salumi. You want pigs that spend their lives foraging, and from a farmer who is ethical and humane. My source was Caw Caw Creek Farms in South Carolina.
Recipe
The recipe I used was adapted from Salumi by Ruhlman & Polcyn. The only equipment you need is a scale capable of measuring grams and a non-reactive container that will hold the fat snuggly (you may need to trim it). Some use plastic ziplock bags, but I don’t want plastic touching this fat in a brine for 6 months.
- 100% pork back fat, at least 1 inch thick, skin on
- 50% sea salt (I used grey sea salt)
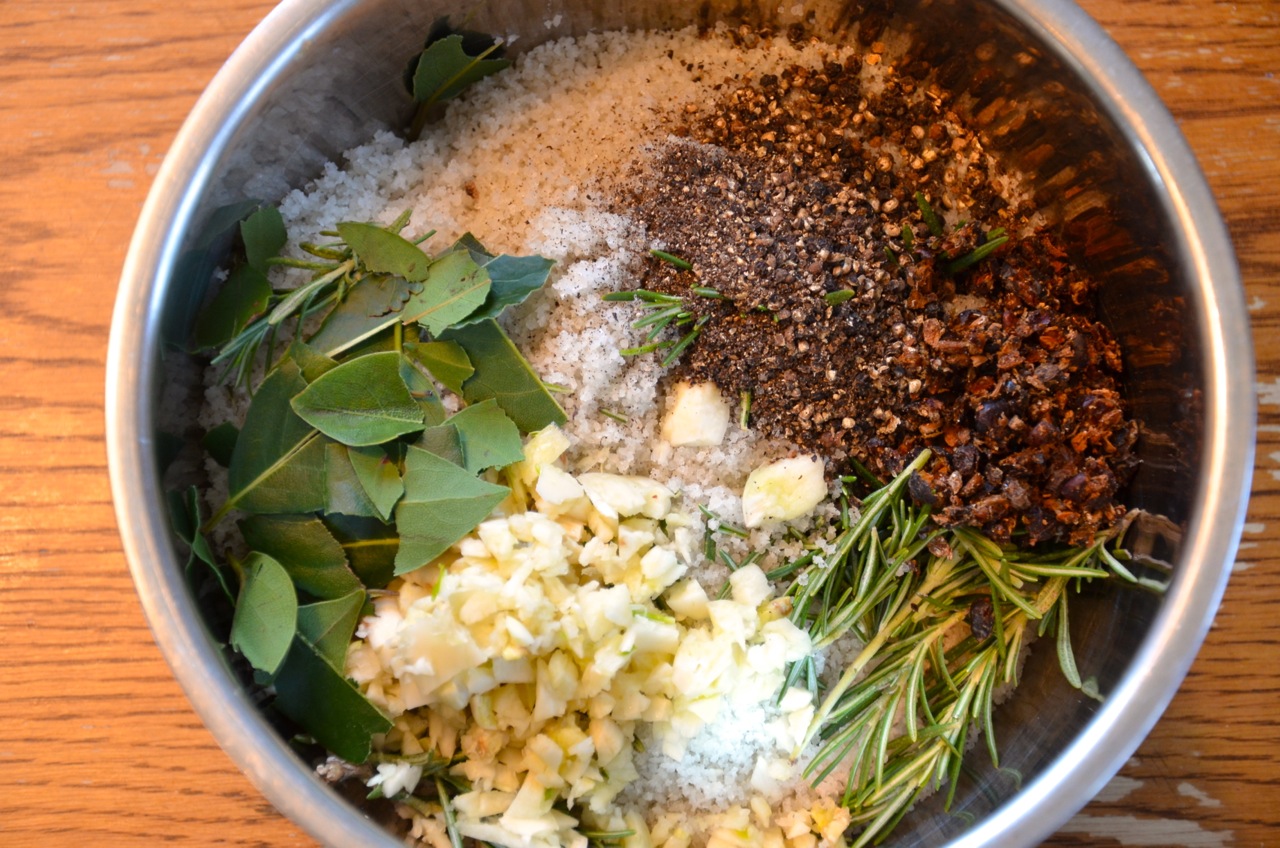
- 2% crushed and sliced garlic
- .5% black peppercorns, crushed with a mortar and pestle
- .4% juniper berries, crushed with a mortar and pestle
- .15% fresh rosemary stalks, crushed by hand
- .1% bay leaves, ripped into small pieces by hand
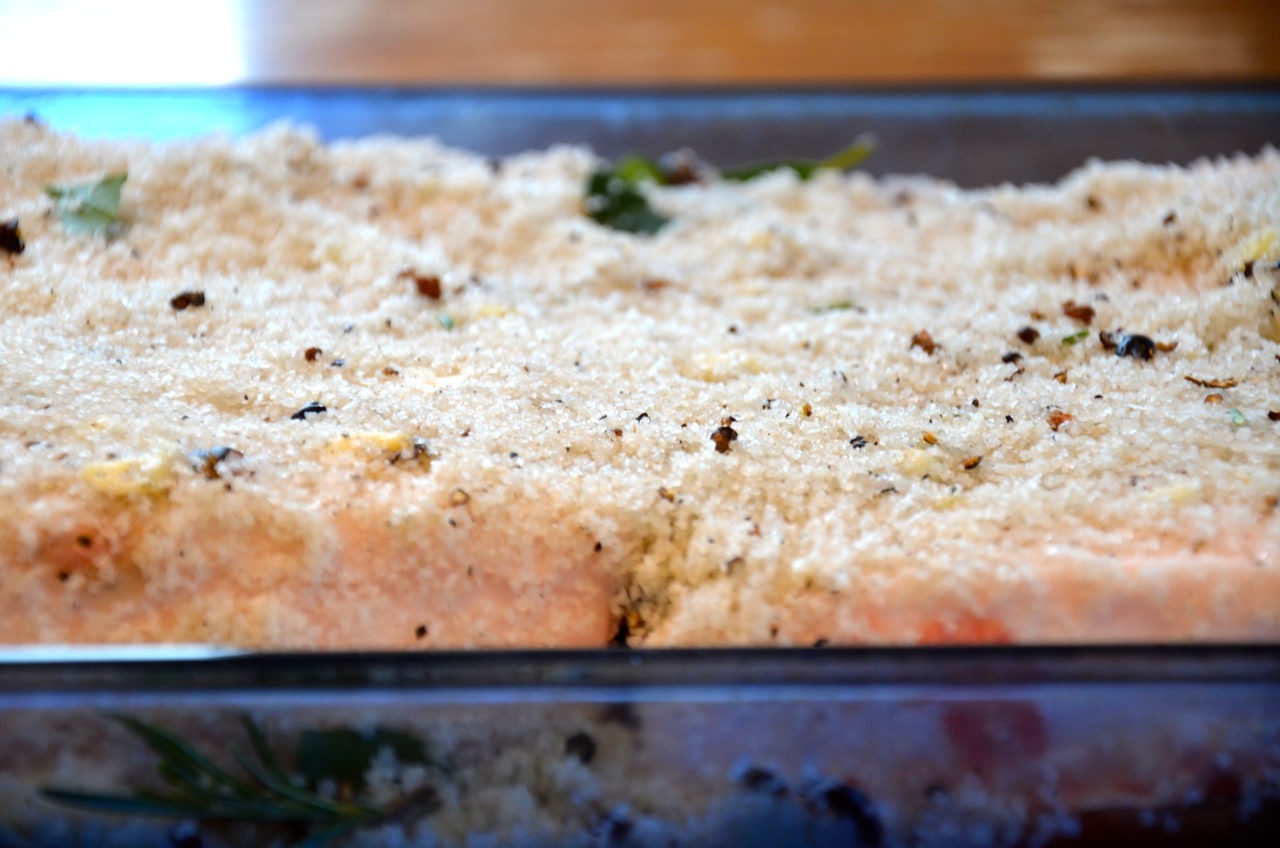
Combine all the seasonings. Place some of the cure mix in the bottom of a non-reactive container that can be covered tightly, such as glass or ceramic (or your custom made marble casket!). Set the fat skin side down in the container, and spread the rest of the cure over the top. Cover tightly, and wrap in a black plastic bag to keep the light out, which will destroy the delicate fat. Place in the fridge for six months.
I will post pictures of my lardo when it is finished.